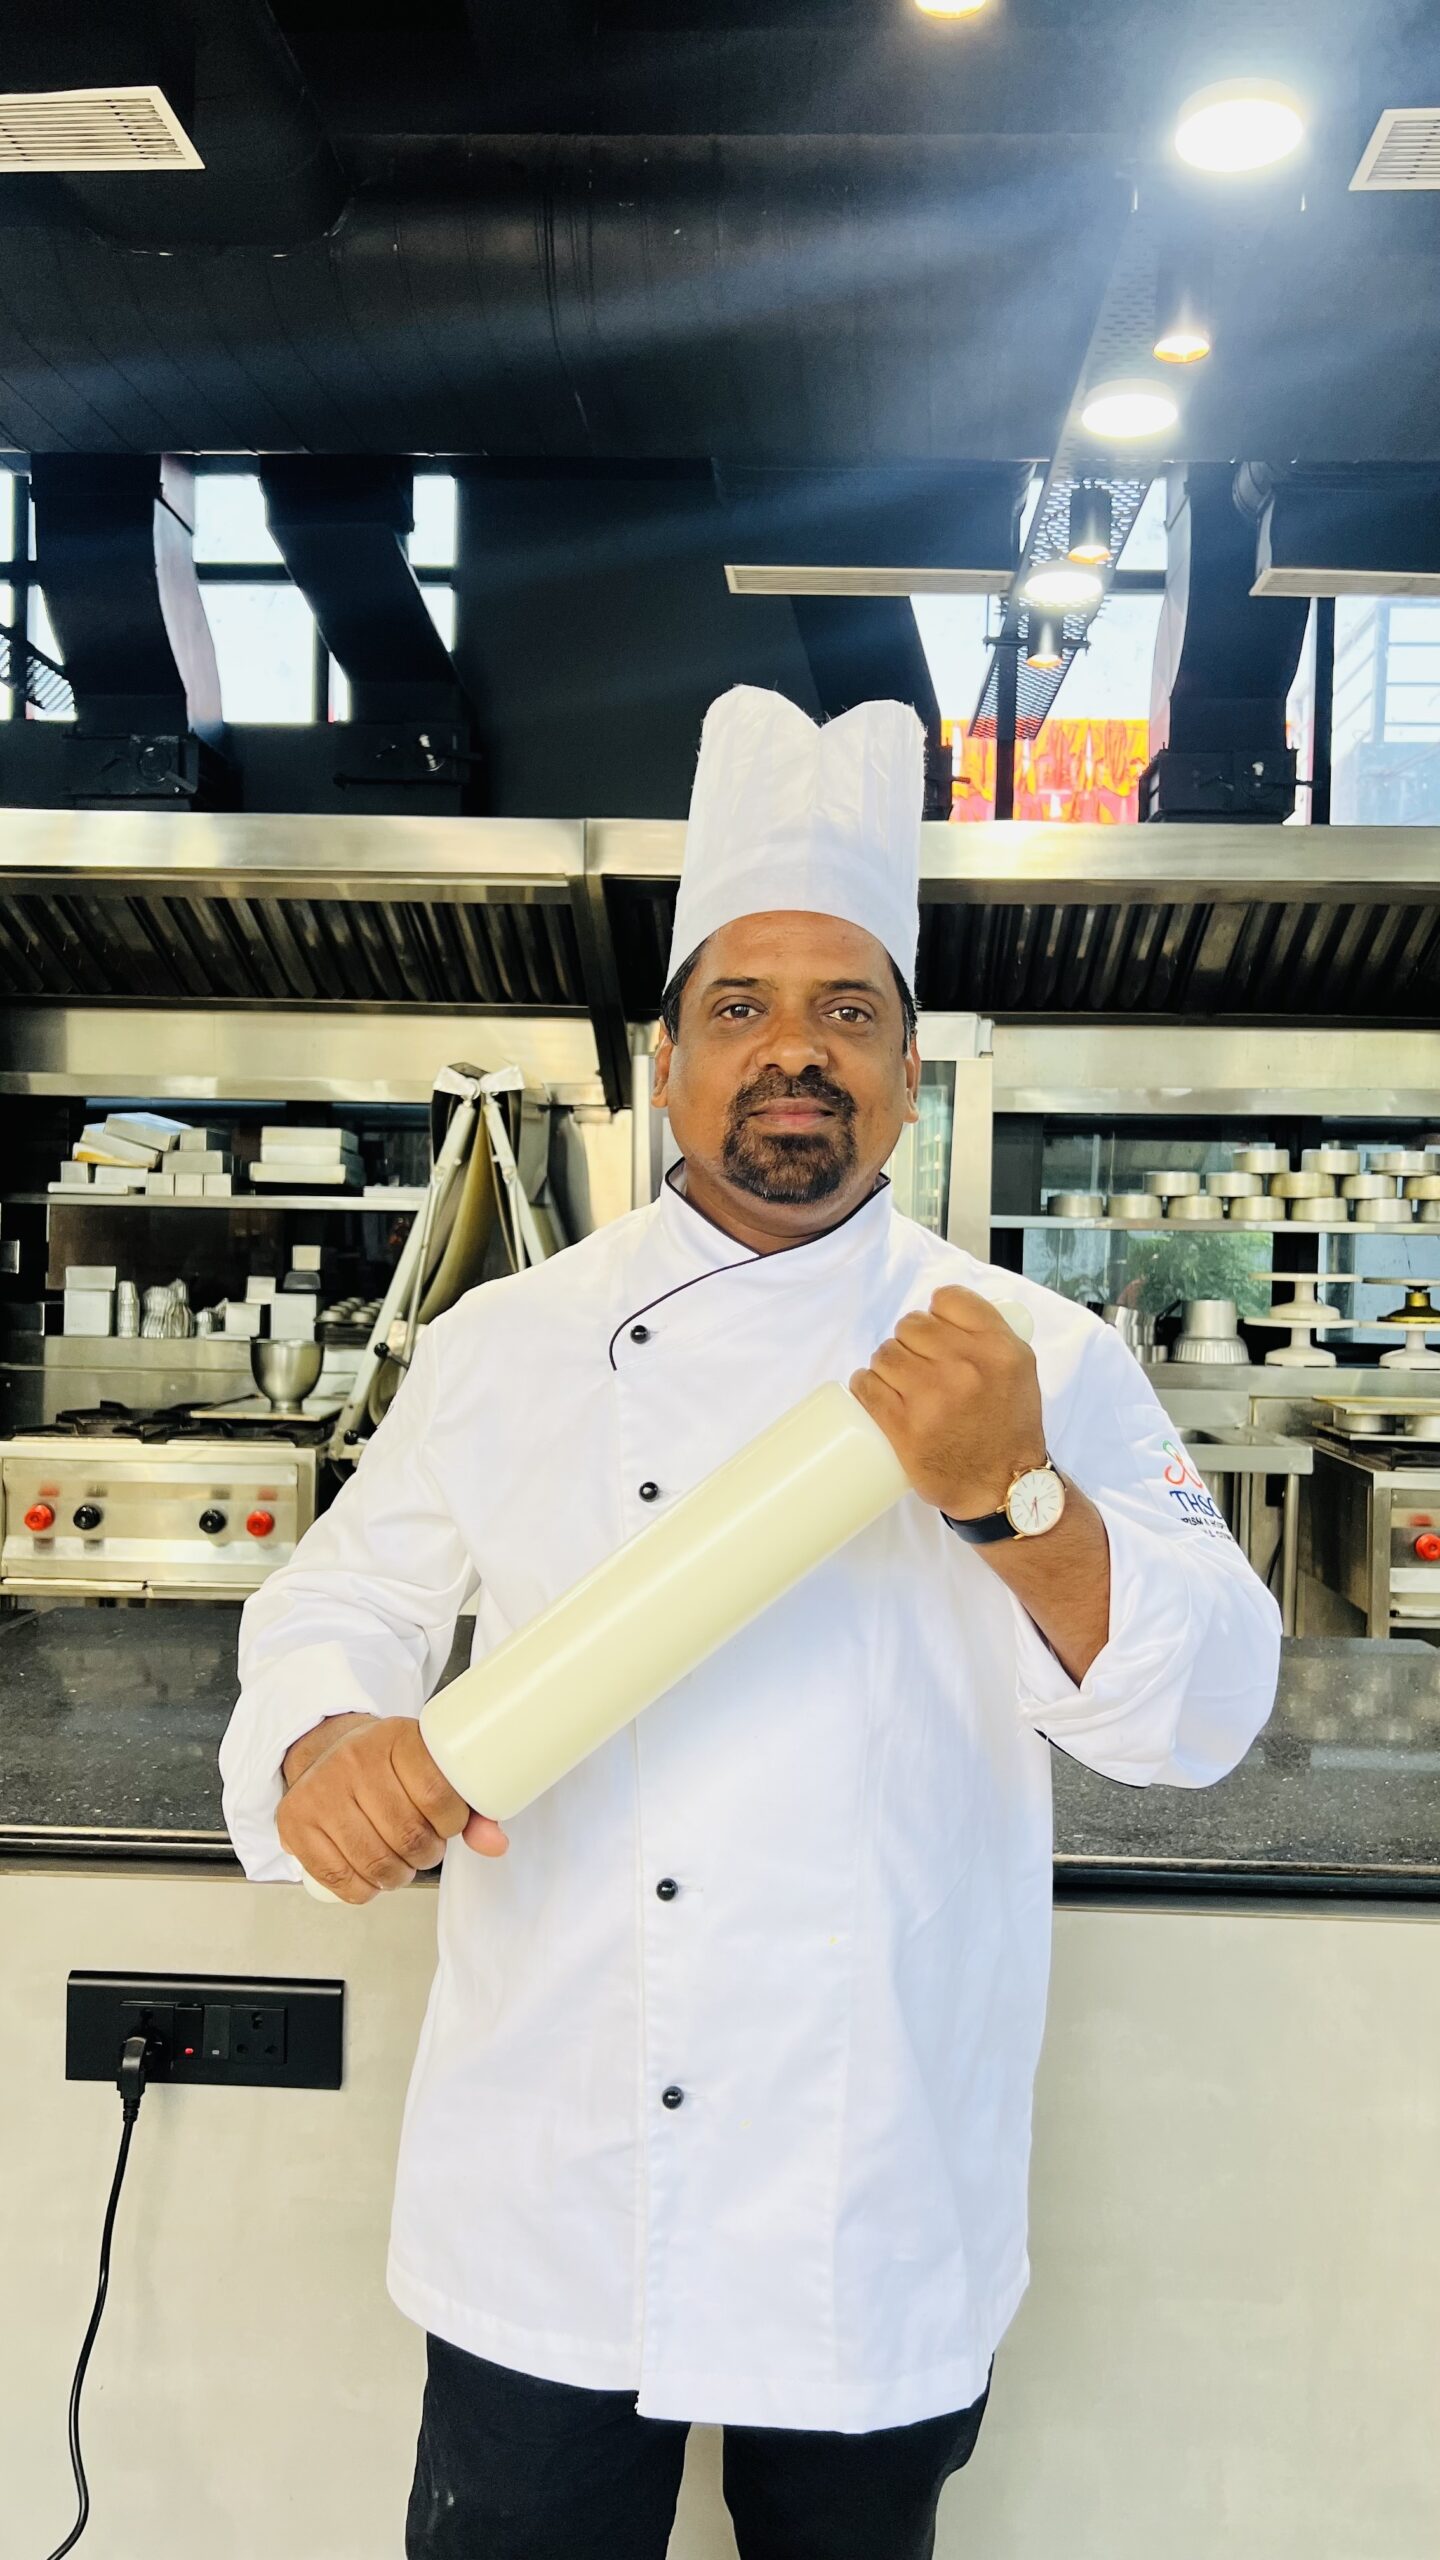
Easter is a time for celebration, renewal and coming together with loved ones. This year, Chef Sameer Sayed, a faculty member at the Verna-based Kamaxi College of Culinary Arts, has crafted a special treat to mark the occasion—Italian Easter Bread (Pane di Pasqua).
Pane di Pasqua or Italian Easter Bread has a rich and symbolic history rooted in both ancient pagan rituals and Christian traditions. It’s origins trace back to southern Italy, particularly in regions like Sicily, Naples and Puglia, where bread- making was central to both daily life and religious festivities. In pagan times,
bread and eggs were used in springtime rituals to celebrate fertility, renewal and the return of life after winter. As Christianity spread through the region, these customs were absorbed into Easter celebrations, with the bread becoming a symbol of Christ’s resurrection and the eggs representing new life.
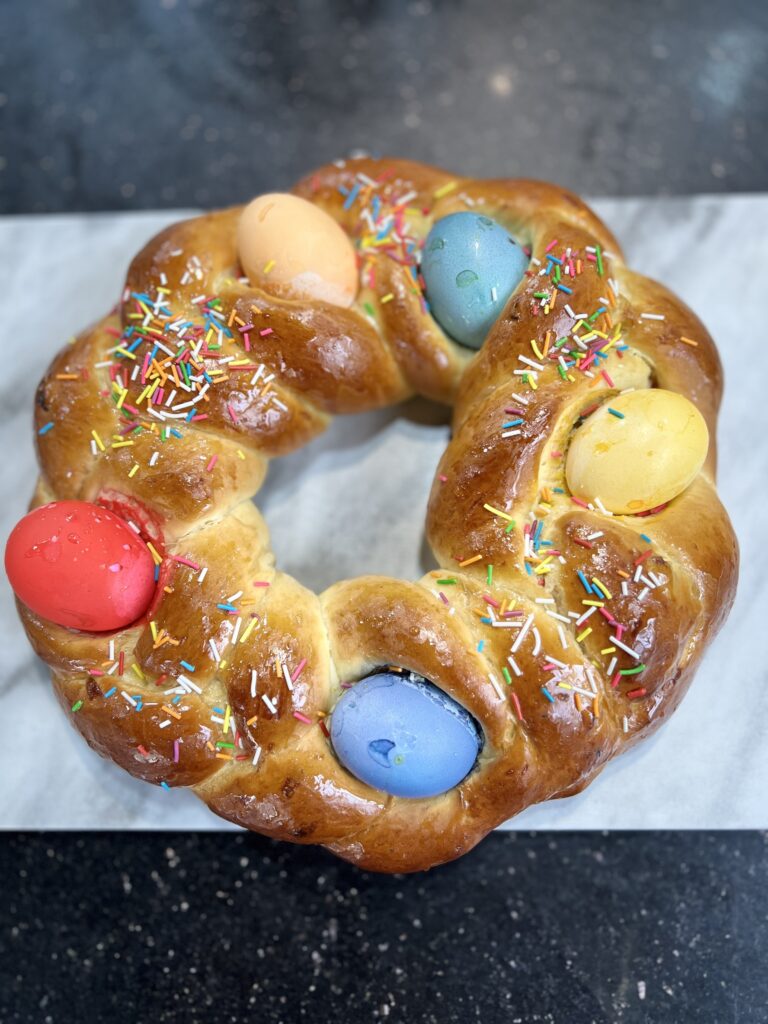
The traditional bread is often braided or shaped into rings or crosses, symbolizing eternity and unity and decorated with dyed hard-boiled eggs. In some versions, it’s flavoured with citrus zest or vanilla and sometimes topped with sprinkles or icing.
Over the years, Pane di Pasqua has become a cherished Easter tradition across Italy and among Italian communities around the world, with each region adding it’s own unique flair to the recipe and presentation. Chef Sameer’s interpretation of this timeless bread promises to add warmth, flavour and festive cheer to any Easter gathering.
Serves: 4 to 5 persons
Ingredients:
- Flour (Maida) – 335 gms
- Sugar – 36 gms
- Dry Yeast – 8 gms
- Salt – 6 gms
- Raisins – 34 gms
- Orange Zest – 1
- Orange Juice – 1
- Cinnamon Powder – a pinch
- Fresh Milk – 150 ml
- Fresh Whole Egg – 1
- Unsalted Butter – 37 gms
Decorations:
- Egg – 1 (for egg wash)
- Eggs- 5 (for dyeing)
- Sprinkles
Method:
- Mix flour and yeast together and pour the mixture in the bowl of a stand mixer. Knead for about 5-7 minutes.
- In a separate bowl mix together all the dry ingredients. (flour, sugar, cinnamon powder, salt and yeast)
- Using a stand mixer with a dough hook attachment, add butter and egg to the dry ingredients and knead the dough until smooth and elastic.
- Then place the dough in a greased bowl and cover it. Let it rise in a warm, draft- free place until doubled in size.
- Further divide the dough into 3 equal pieces.
- Roll each strand to about 22-24 inches long. Set the ends together on one side and pinch them together.
- For a 3-strand braid, start with the left-most strand and cross it over the middle strand. Next, cross the right-most strand over the new middle strand. Continue this process until you run out of room.
- Keep the braids loose enough to easily push eggs between them later.
- Line a half-sheet pan with parchment paper or a silicone bread mat. Gently transfer the braided dough onto the pan and form it into a round wreath shape. Pinch the ends of the braid together. Gently pull the braids open slightly and slide a dyed egg in between the braids, making sure to stay towards the middle or inside of the braid so that the egg doesn’t roll off the top when rising.
- For a wreath-shaped bread, 5 eggs look best. Cover again and allow to rise for about 45 minutes, or until roughly doubled in size. This should also help lock the eggs into the dough.
- Preheat the oven to 350°F / 180°C.
- Whisk together one egg with a splash of water for the egg wash and brush onto the dough, being careful not to brush the dyed eggs which can cause the dye to run.
- Add sprinkles on top of the egg wash.
- Place it on the middle rack of the oven and cook for 18-20 minutes, until the top is nicely browned.
- Remove from the oven and cool on the pan for 5-10 minutes before moving to a cooling rack.
- Slice and serve when fully cooled or still slightly warm.